This tutorial is more or less an extension of the MSPaint linear gradient tutorial. But if you don't really feel like clicking the link, you can just keep reading and learn how to make a linear gradient as well as a curved gradient.
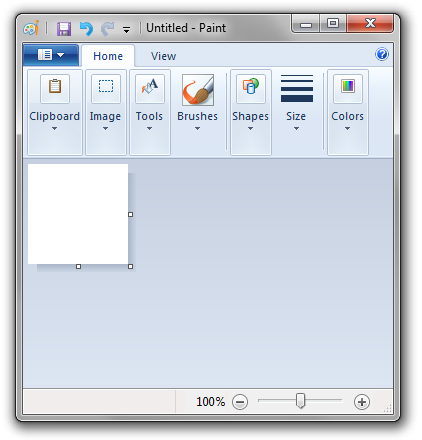
First, create an image that's 100x100. You can adjust the size in the Image Attributes menu. I don't even know where this menu is accessible anymore in the Windows 7 mspaint, which is tragic. You'll just have to remember now that Ctrl + E brings it up.
So now you have a 100x100 pixel image...
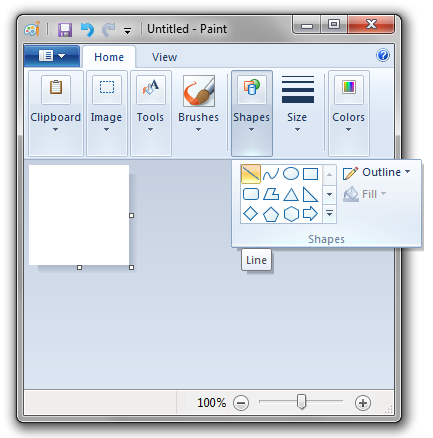
Select the line tool...
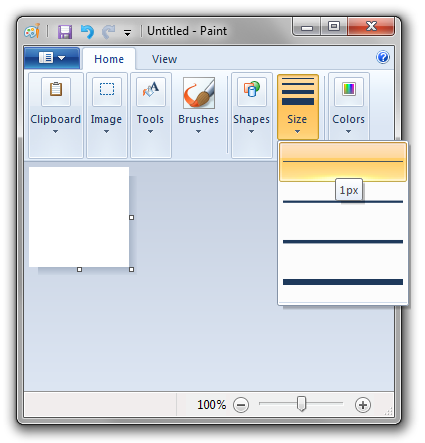
Select the 1px size (along with one color that you want to make as part of the gradient)...
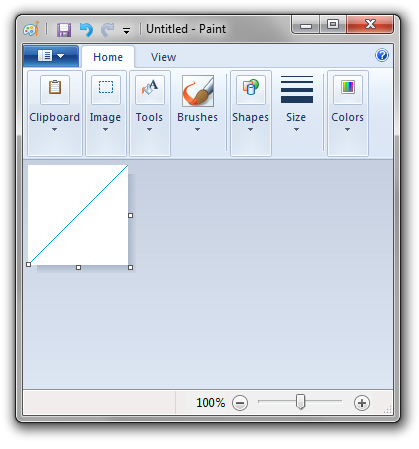
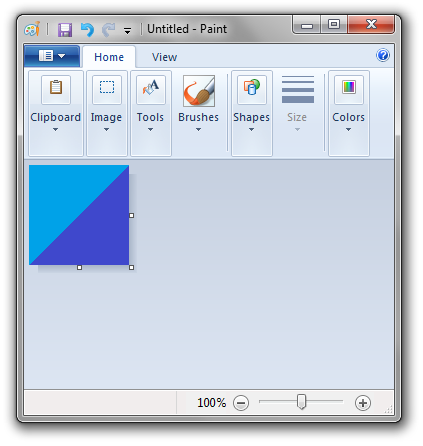
And draw a line from corner to corner. Doesn't matter which way...
Now use the paint bucket and fill each side of the line with the two colors you want in your gradient...
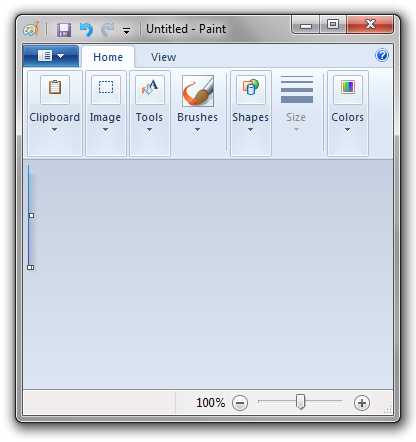
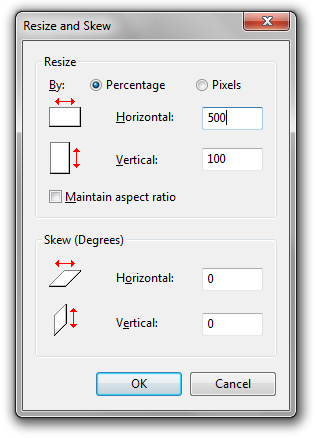
With the resize and skew menu (Ctrl + W), set the horizontal stretch to 1%. Be sure to disable Maintain aspect ratio. You can do this quickly by pressing Alt + M. Press Alt + H to jump to the horizontal field.

You now have a 1 pixel wide, 100 pixel tall linear gradient. Congratulations.
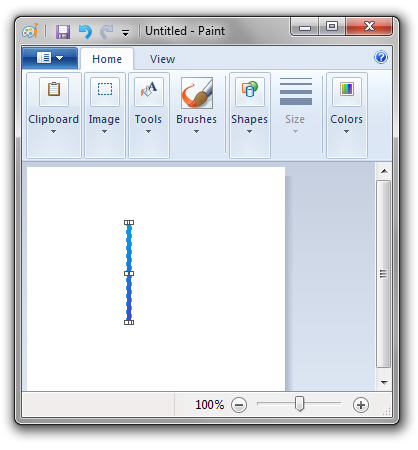
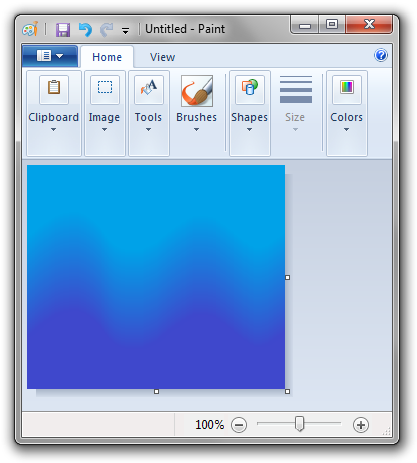
But of course, that's not why you came here. You want a curved gradient. Bring the Resize and Skew menu back up (Ctrl + W) and stretch the width by 500%.
Also, after you do this, select the whole image and cut it (Ctrl + X) and then stretch the bounds to be larger so you have some room to work with. Once you do that, bring the gradient back from the clipboard (Ctrl + V).
With the gradient still selected, move it to the far left of the image. Let go of the mouse. Now press and hold SHIFT. Click and drag the gradient SLOWLY across the image in a curved or wobbly fashion. It'll leave a trail. Drag it all the way to the right side of the image.
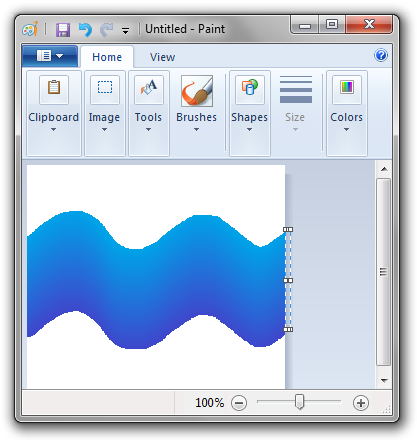
Now fill in the top and bottom with the bucket tool.
And now you have a curved gradient.
Yes, Photoshop is faster.