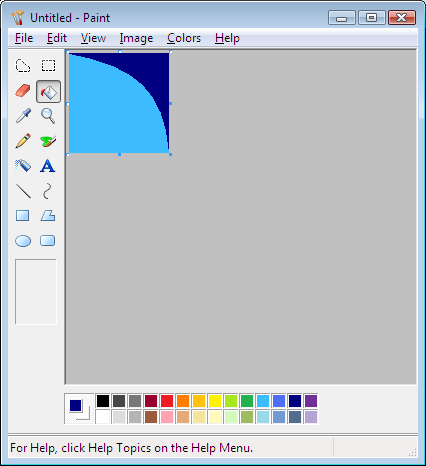
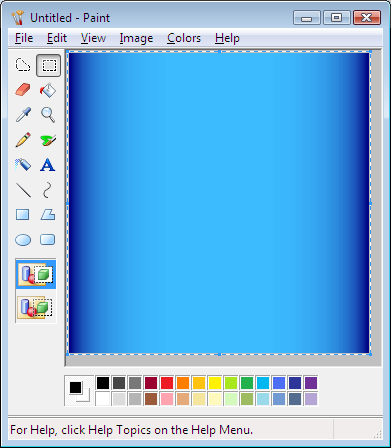
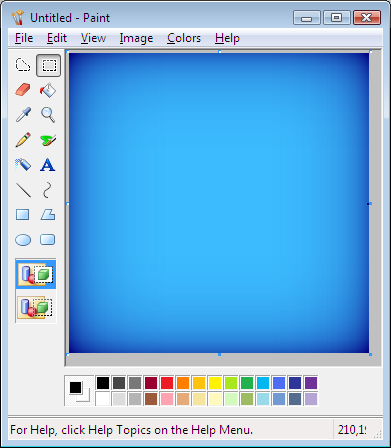
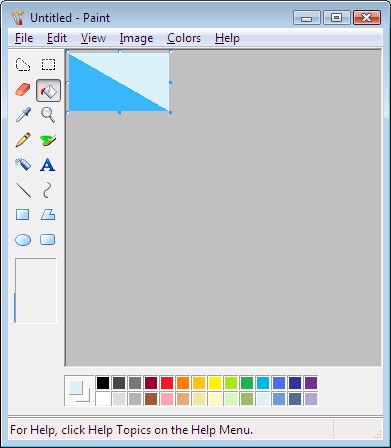
First open up an instance of mspaint and adjust the size to 100 by 100 pixels. Then draw a bezier curve from the top left corner down to the bottom right corner and fill the top portion with black. Like this...
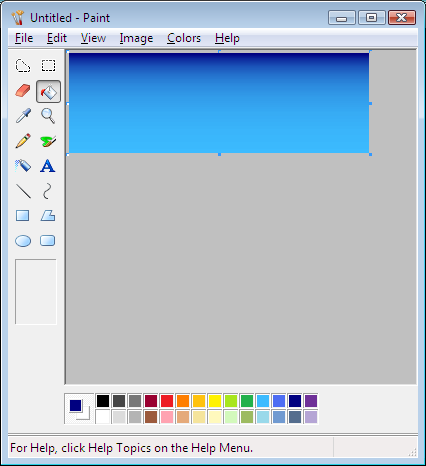
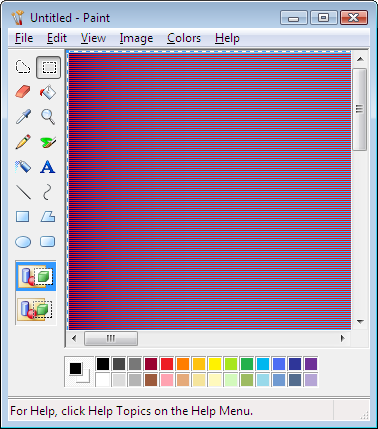
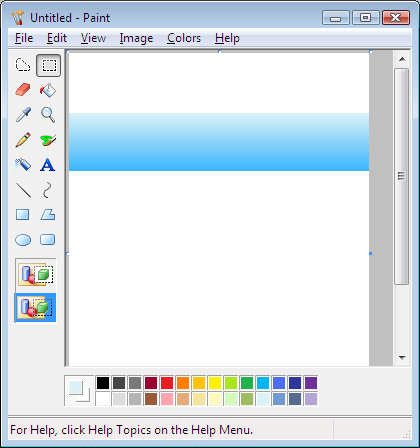
Now reduce the width to 1% using the stretch and skew menu (Ctrl + W). This will create a smooth gradient. Now stretch it back out by repeatedly using the stretch and skew menu until you get it over 300 pixels wide. Once you have gone beyond 300 pixels, crop the width down to exactly 300 pixels with the Image Attributes (Ctrl + E). It should now look like this.
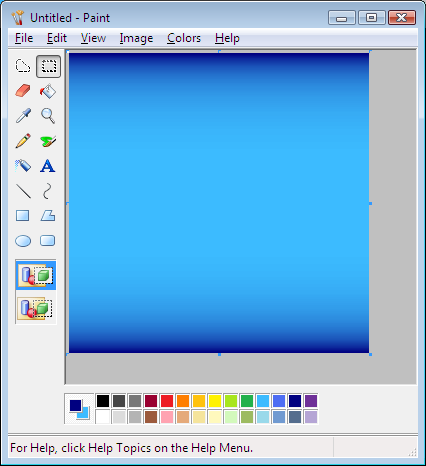
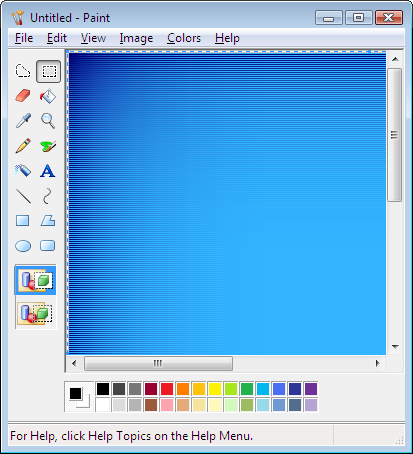
Now you want to select the entire image (Ctrl + A) and copy it (Ctrl + C). Using the color dropper, select the color of the bottom row of pixels as your background color. Go back to the image attributes (Ctrl + E) and adjust the height to 300 pixels. Use the flip and rotate menu (Ctrl + R) to flip the image vertically and then paste (Ctrl + V). You should end up with this...
Now copy and paste this image into a new window of mspaint so that you have two images that look exactly the same. Now rotate one of them 90 degrees (Ctrl + R).
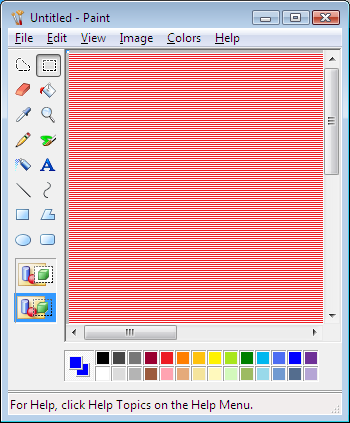
Now open a new window of mspaint and adjust the image size to 600 by 600 pixels. Fill the entire image up with horizontal lines like so. For information on how to do this quickly, see the blending two pictures tutorial.
Go back to the other two pictures and scale them horizontally and vertically by 200% (Ctrl + W). Copy and paste your horizontal lines into one of the pictures and select white as your background color. Make sure that you're drawing in transparent mode so that it looks like this...
Copy and paste this onto the other counterpart. Make sure you're in transparent mode and select the contrasting color as the background color. You should now have this.
Deselect the image and scale the entire image down by 50% (Ctrl + W). If your image doesn't look like the image below, copy the entire image and paste it into a new mspaint instance before scaling it down (this is an mspaint bug. I'll have to talk to someone about this).
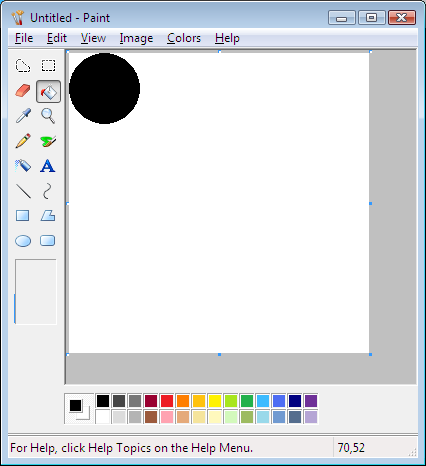
Open a new instance of mspaint and draw a small circle in the corner like this. This will eventually be the rounded corner of your button. So if you want lots of roundedness, make a bigger circle. Less roundedness, a smaller circle.
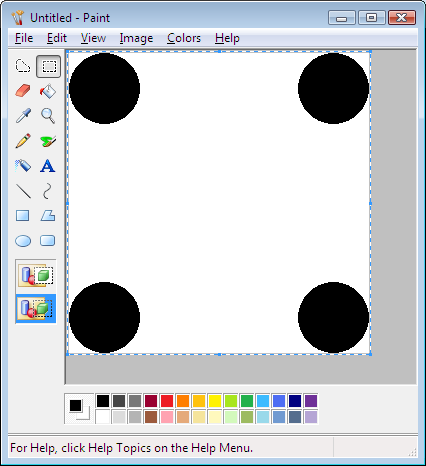
Using a series of copy, pastes, and rotates (Ctrl + R, in pre-Win7 mspaint), put the same circle on all four corners.
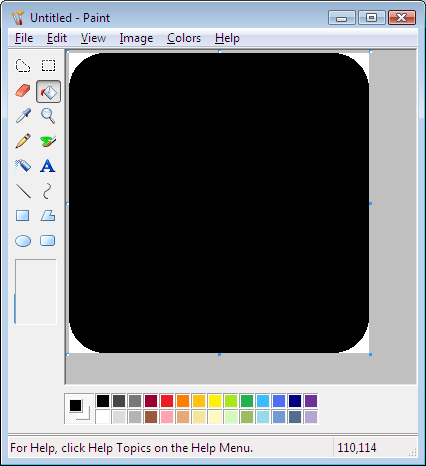
Then fill the center area with the circle's color.
Copy and paste this image to the other image you have with the circle color as the background color and transparent mode on. You will then get something like this...

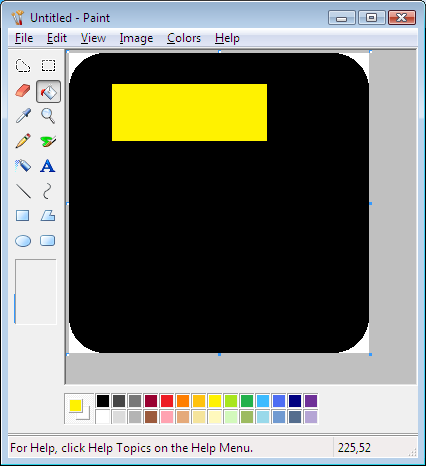
Go back to the other window and draw a box of contrasting color on your button stencil. This will be a stencil for the shine on your button.
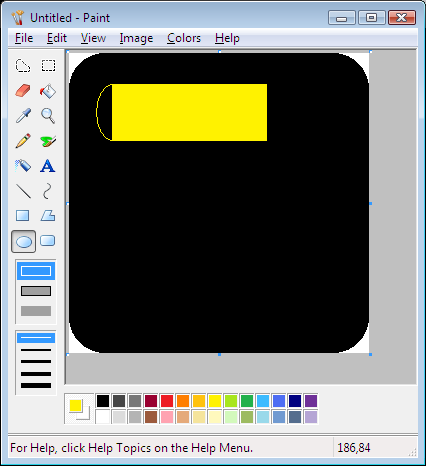
Use the ellipse tool to make the side rounded.
Then fill it in.
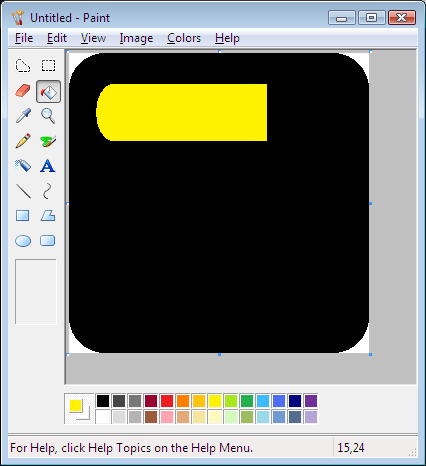
Copy the left portion of this image and rotate the whole thing horizontally (Ctrl + R). Then paste. This will ensure symmetry.

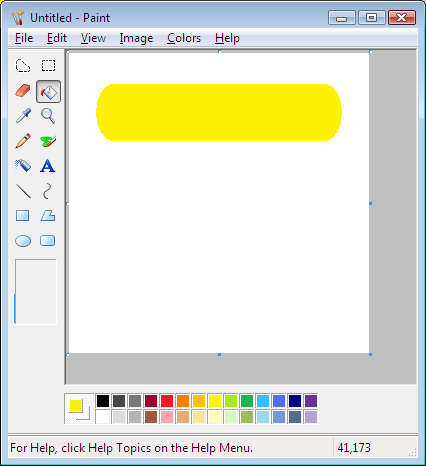
You don't actually need that black background anymore. Delete it.
Now copy this and paste it onto your other image so that you have this...

Open a new window and create a blank image that's roughly the height of (or larger than) your shine stencil region and 100 pixels wide. Draw a diagonal line across it and fill the bottom portion with the shade of blue (or whatever color you chose) that's directly below the shine region. Then fill the upper region with a much lighter color (that's almost white).
Now stretch this image down to 1% of its width (Ctrl + W) to create a gradient. Stretch this gradient out to 300 pixels wide and make the images height 400 pixels tall and move the gradient somewhat (but not touching) the top of the image. You'll be pasting the other image's contents here, so give yourself fudge room.
Go to the other image and copy all the contents and paste them into this small gradient image. Set the background color to the color of your shine stencil and position it above your gradient so that it shows through.

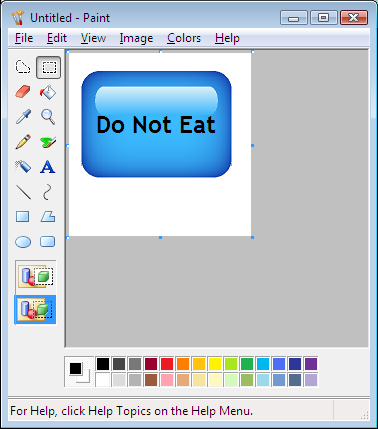
Now you can scale your button down to whatever size you need and crop out central regions of it to make it more horizontal or vertical.