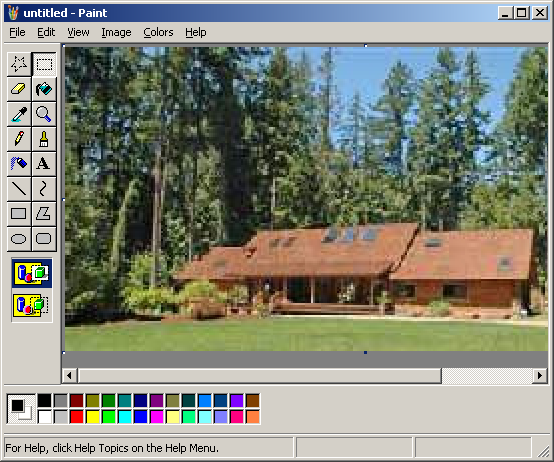
So I was browsing for local homes and I found a cabin that was going for 1.5 million dollars...
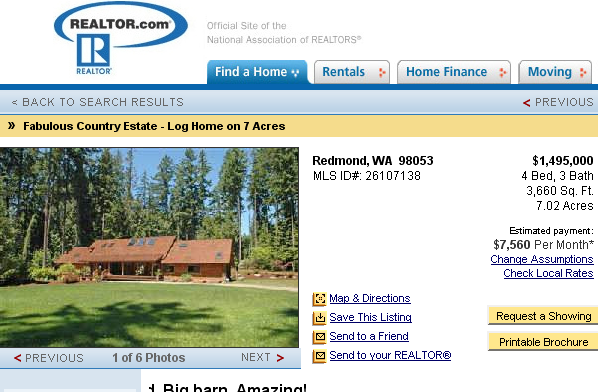
Geeze. For that kind of money, there has to be a lake or something. Let's add a lake.
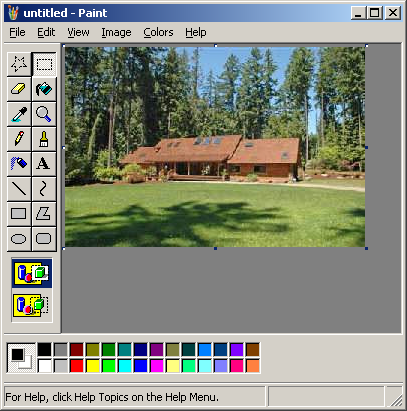
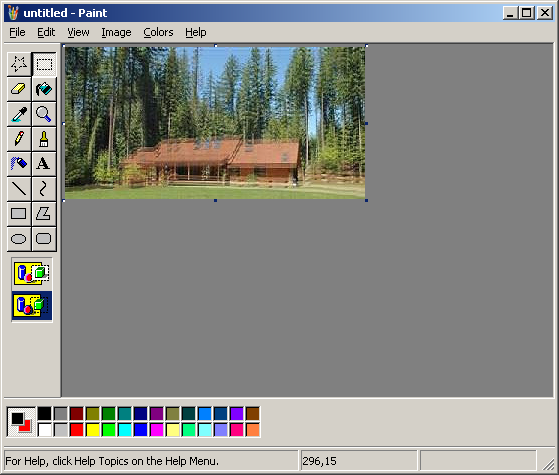
First, crop off some of the lawn. Make sure that all the tree shadows are gone. To crop, just drag the little node at the bottom of the picture up.
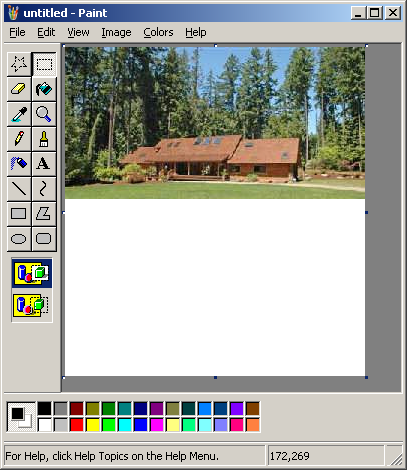
Once you have that cropped, copy the remaining portion of the picture (Select All, then Copy).
Then expand the picture your picture so you have room to paste in the lake.
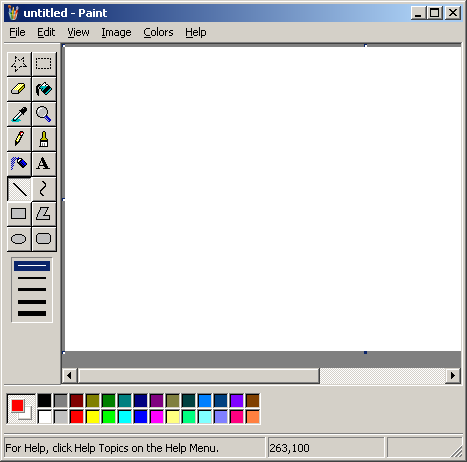
This may seem arbitrary. Open a new window of mspaint. Shrink it down to a few pixels. Then paste in the picture you have on the clipboard. This will stretch the image to the size of the image if you have a later version of mspaint, or it will prompt you to expand the image if you have an older version of mspaint. Click yes, if that is the case. Now delete the image. You should now have a blank image the size of the cabin picture. Now double the size by stretching it 200% horizontally and Vertially (Ctrl + W).
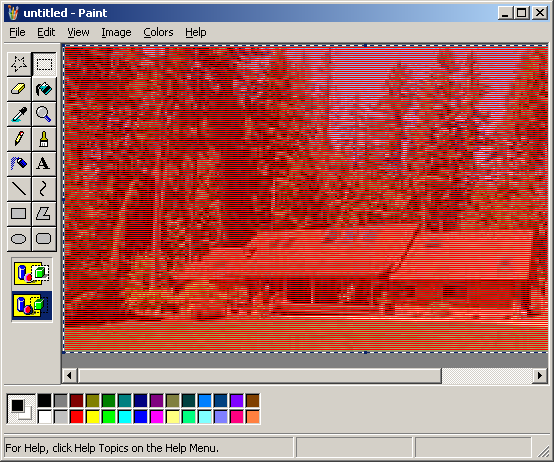
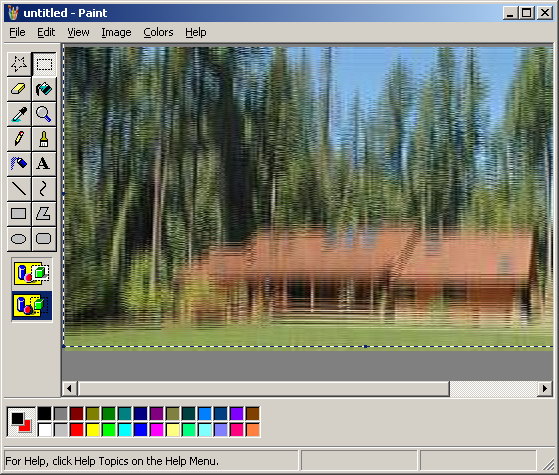
Now, draw a horizontal red line. Now select the whole picture and, while holding down Ctrl, click and drag the image up by 2 pixels. On the left side, there are two modes to choose from, opaque and transparent. Select transparent. Now you should have two horizontal lines. Repeat this process so that you have 4 horizontal lines. Then 8. Then 16. Do so until you've vertically filled the image with horizontal red lines. Now stretch them horizontally so that it fills the whole image. Keep this window open for later use.
Remember that picture you had on the clipboard? Now open TWO more mspaint windows and paste it in each of those. Stretch both of them to 200% of their oritinal size (Ctrl + W). They should both look like this...
Now go back to your horizontal red lines and copy it and paste it onto one of your 200% size cabin pictures. Make sure you're in transparent mode so you should have something like this...
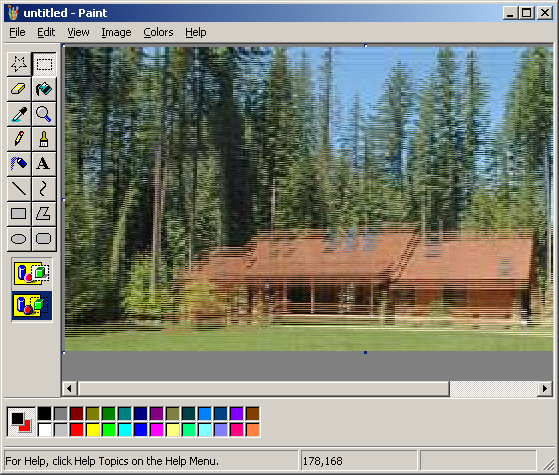
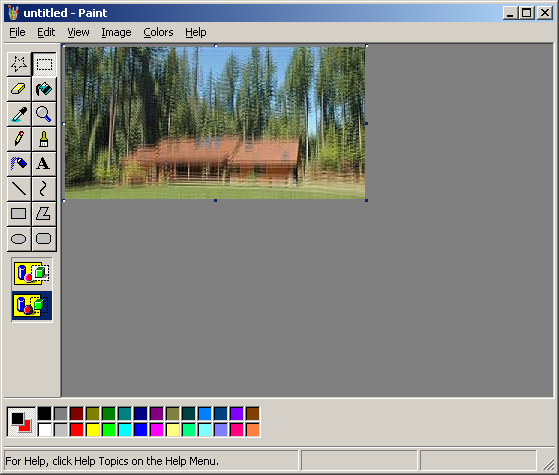
Now select the whole image (Ctrl+A) and copy and paste this into the other 200% size cabin picture. Set the background color to red and make sure you're in transparent mode. If you did it right, it should look the way it did originally.
Then drag the selected portion down by about 7-10 pixels. You should now have something like this...
Now in your stretch and skew menu (Ctrl + W), shrink this down to 50% of its original size so that you have this...
Now take this new image and copy and paste it into another mspaint window. Scale them both up to 200% of their original size again so that you have two large versions of this picture. Repeat the same process of pasting the vertical lines. This time, instead of dragging one copy 7-10 pixels, drag it about 3-5 pixels, so that you have this...
Shrink this by 50% (Ctrl + W) so that it's its original size again...
In the flip and rotate menu (Ctrl + R), flip the image vertically and paste it into your original image where you now have all that whitespace.
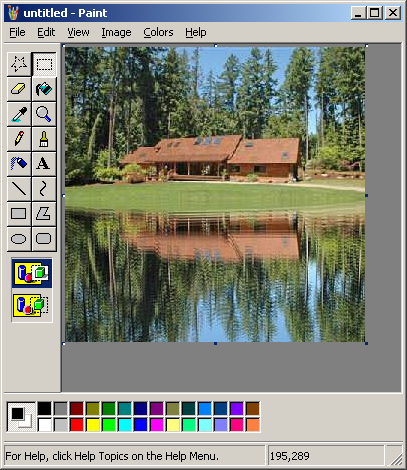
Lake!
Yeah, I know there's no shoreline. If you're that picky, go use Photoshop.