Hey, kids. It's that time of the week again! Time for an MSPaint Tutorial!
This week, we'll be learning how to simulate TV interlacing.
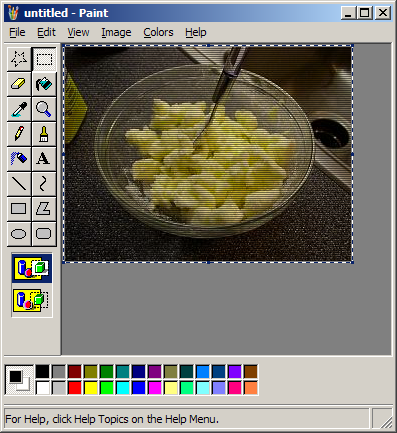
First, start out with an ordinary photo.
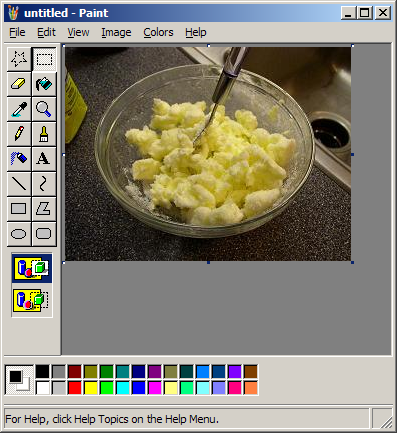
Open up a 2nd window of mspaint and paste a copy of it. Double its size with Ctrl + W.
Open a third window of mspaint and adjust the image to the same size as the image in the 2nd window. This can be done in the Image Attributes menu (Ctrl + E). Draw a horizontal black line.
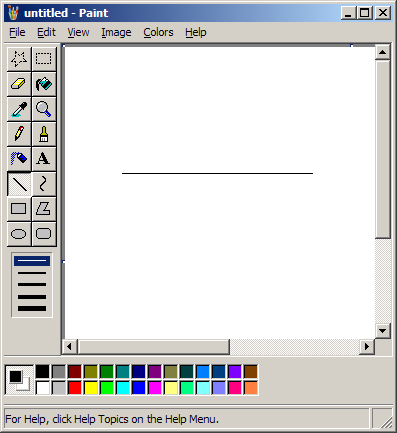
Copy, paste, and stretch over and over. Don't worry, it doesn't take as long as it looks and is painless. Every copy and paste will double the number of lines you have. This shouldn't take more than 30 seconds.

Now, copy and paste these lines to the double-sized image you have with transparency enabled and white as the background color (should be white by default).
This sort of looks like the final result. But we can do better.
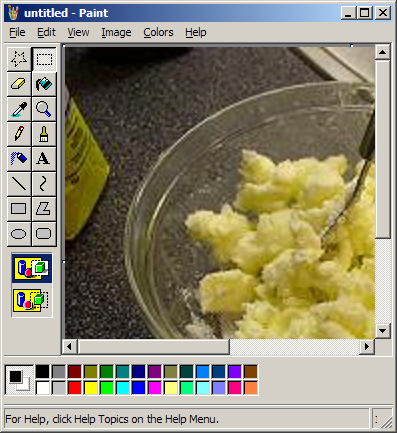
Now scale everything down to 50% with the stretch and skew menu (Ctrl + W). Make sure nothing is selected before you do this. You should now have a darker version of your original picture.

Go back to your horizontal lines. Now change them to a different color that will contrast with your photo. I chose red, since there is no red in the photo I chose.
A quick way to do this is to cut the whole picture (Ctrl + A followed by Ctrl + X), fill the resulting empty space with red (or whatever contrasting color you chose) and then pasting (Ctrl + V) with transparency mode enabled and black selected as the background color.
Now size the image down to half size. Do this with Image Attributes (Ctrl + E), not the stretch and skew menu, because you want to cut off the edges, not shrink the whole thing.

Cut and paste this image onto your darker image. Have white selected as your background color with transparency enabled.

Now copy and paste this onto the original image with red (or whatever color you chose) as your background color with transparency enabled.
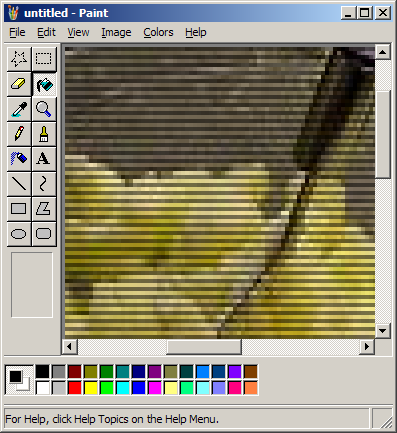
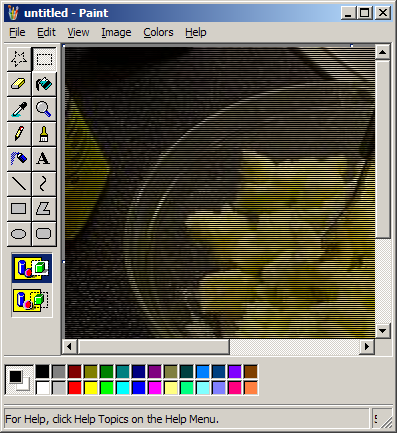
Now it looks all TV-like.
Here's a close up: